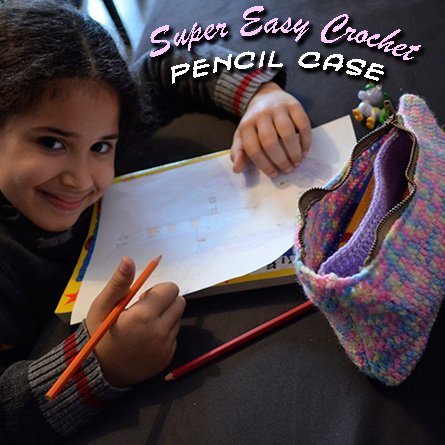

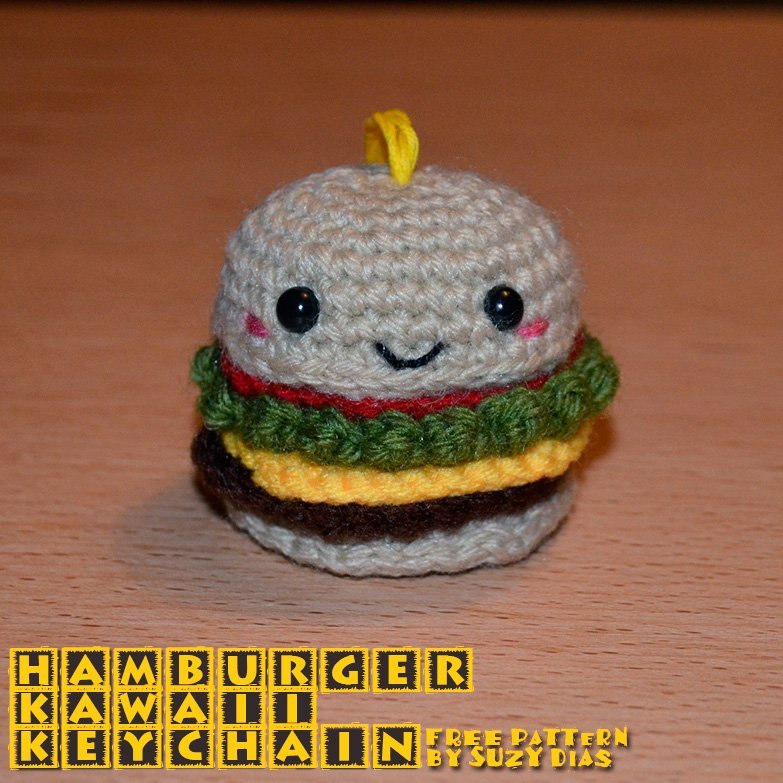
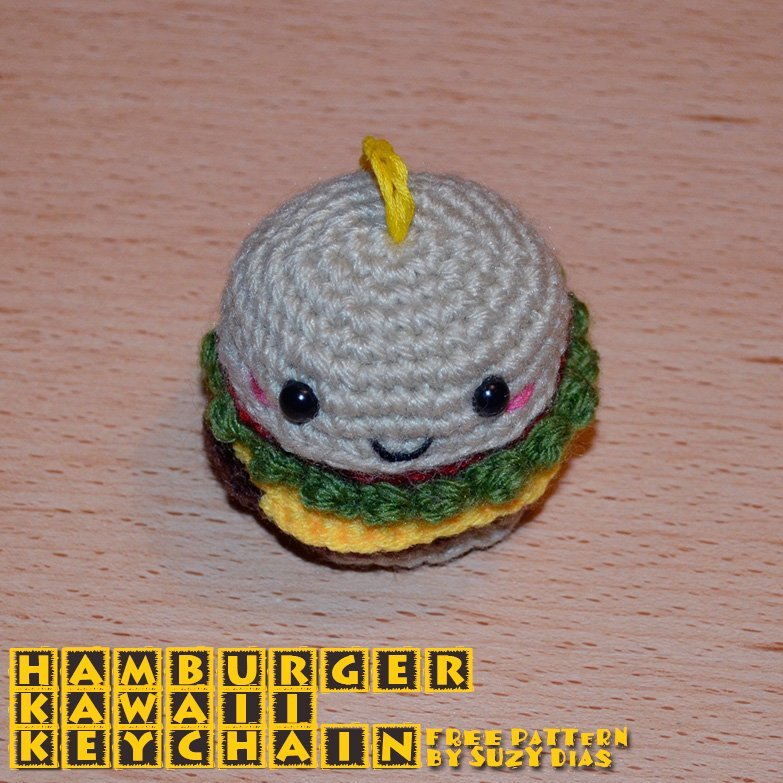

SUPPLIES
• Height & width: approx. 5.8 cm x 6 cm / 2.3” x 2.4”
• Hook: 3 mm (US C2, CAN/UK 11)
• Yarn: DK / Light Worsted Weight
• Yarn colors: Beige/light brown, red, green, yellow, dark brown and a bit of pink
• Safety eyes (6 mm)
• Needles for embroidery and sewing
• Black Embroidery floss
• Thread in beige or white
Abbreviations: R – Round, MR – magic ring, “around” – continue until the end of the round, ST/STS – stitch/stitches, SLST – slip stitch, SC – single crochet, DC – double crochet, INC – 2 single crochets (SC) in the same stitch, BLO – back loop only, F/O – fasten off
Pictures and Assembly
☆ For full assembly instructions, download the pattern (PDF)
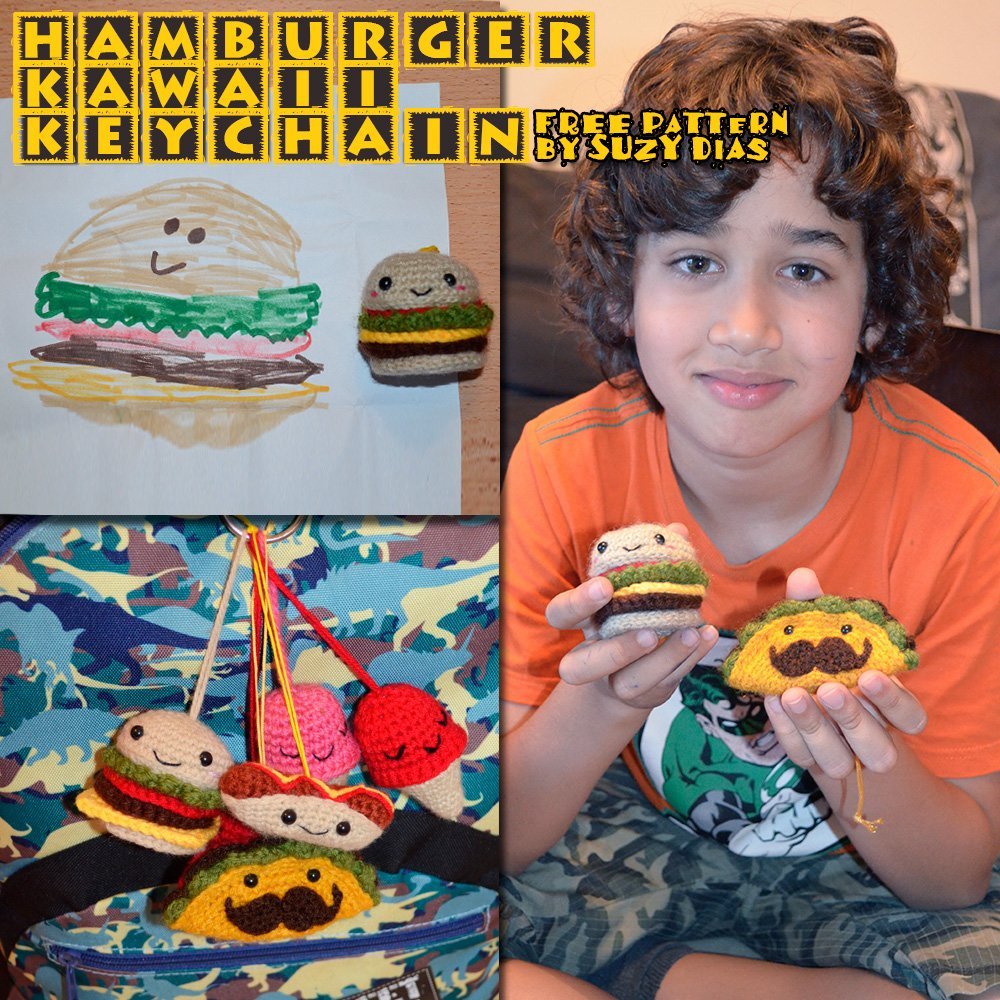
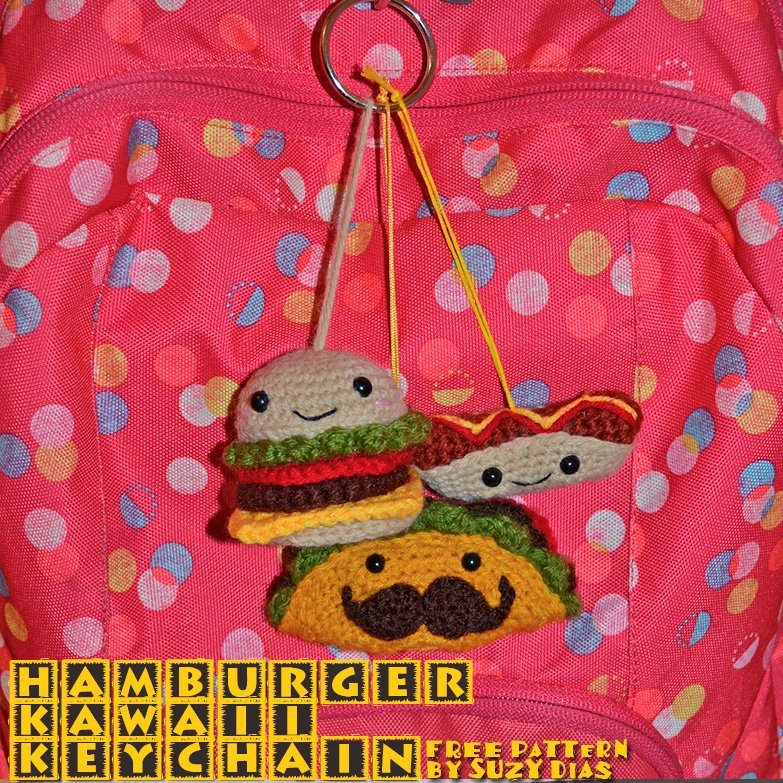
Super Talented Customers
☆ Here are pics from customers who did an amazing job creating their own Hamburger Kawaii Keychain.
https://www.ravelry.com/patterns/library/hamburger-kawaii-keychain/people
Crochet Tutorials
Here are a few videos for the crochet techniques used for this pattern:
• How to crochet in front loops and back loops only in a round | Happy Berry
• Joining – Whipstitching in Inside Loops | CrochetSoiree
• How To Whip Stitch | Fiber Flux
• How to Crochet a Solid Granny Square | Fiber Flux
Here are a few videos for basic crochet techniques:
• Magic Ring for Crochet | June Gilbank
• How to crochet a flat circle | Bella Coco