Pattern Download
★ This pattern is 100% FREE.
★ The PDF will be immediately available from:
1. The confirmation screen that appears after the transaction provides a button to download the PDF.
2. Your confirmation email provides a link to download.
Questions
If you have any questions, please contact me at suzydias [at] MAIL [dot] com or click here for more info.
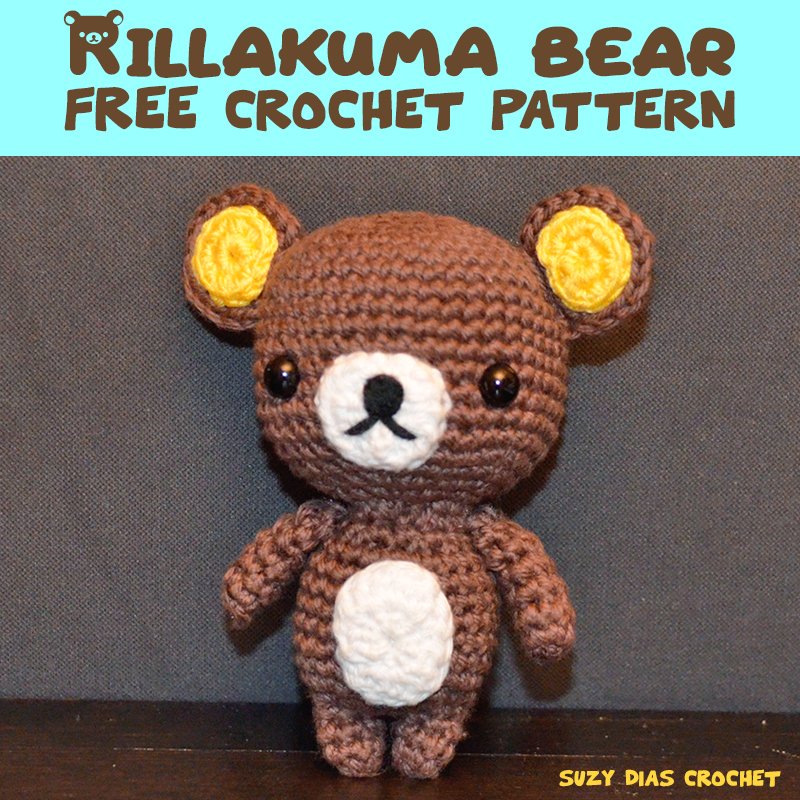
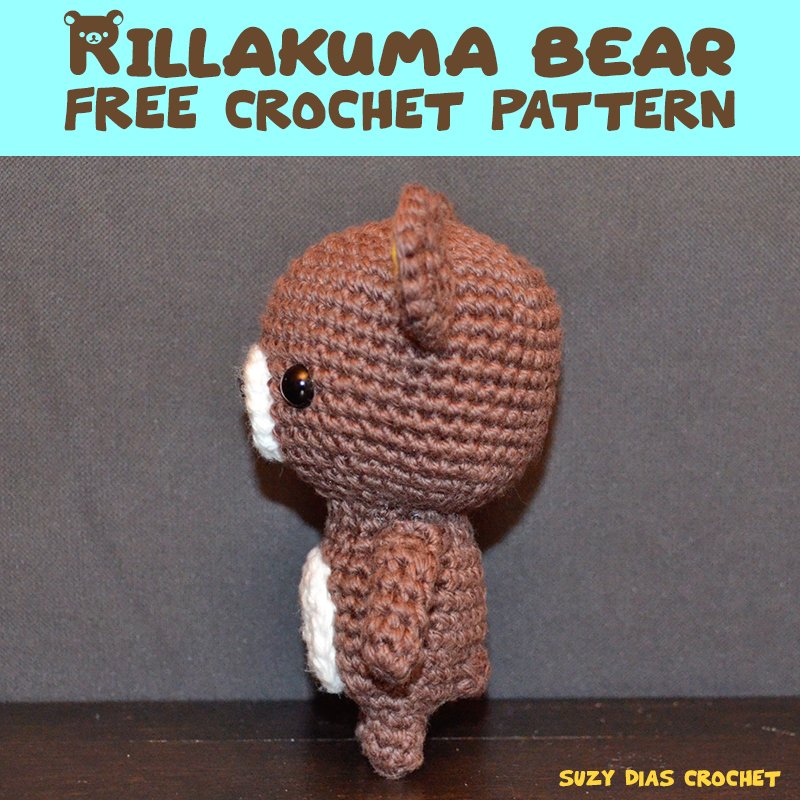
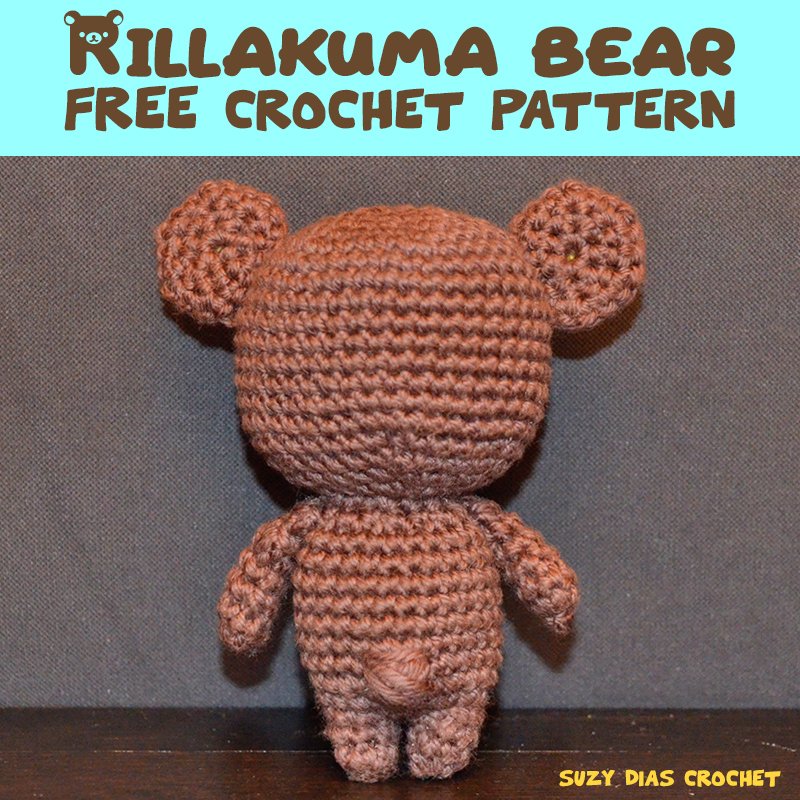
Looking for the finished toy?
Maybe you don’t have time to crochet this yourself. I’d be happy to do it for you ᕕ( ᐛ )ᕗ♡
LEGAL INFO
This pattern is designed by Suzy Dias and is for your personal use. You many not distribute or resell this pattern in any form (not shared, posted online, resold,..). If you share on social media, please link back to my personal shop at https://www.7robots.com/crochet.
Helpful Crochet Tutorials
• Magic Ring for Crochet | June Gilbank
• How to Crochet a Sphere (beginner) | Louie’s Loops
• Invisible Decrease for Amigurumi | June Gilbank
• How to Crochet Amigurumi: Crocheting in Back Loops Only (BLO) | Ink & Stitches
• Ultimate Finish for Amigurumi | June Gilbank
• Crochet Technique: Fastening Off, Closing & Weaving in Ends of Crochet Amigurumi Toys | NattypatCrochet