


What’s included?
☆ THIS ITEM IS A PATTERN ONLY.
☆ Easy to follow instructions with detailed photos, from stitches to changing yarn colors.
☆ If you’re brand new to amigurumi, here are some videos I found super helpful to learn crochet basics like: a magic ring, single crochet, an increase, an invisible decrease (or a simple decrease) as well as how to sew the parts together. I included some great videos below.
☆ Once purchased, there is a button on your receipt to immediately download the PDF.
Super Talented Customers
☆ Here are pics from customers who did an amazing job creating their own Stay Puft Marshmallow Man:
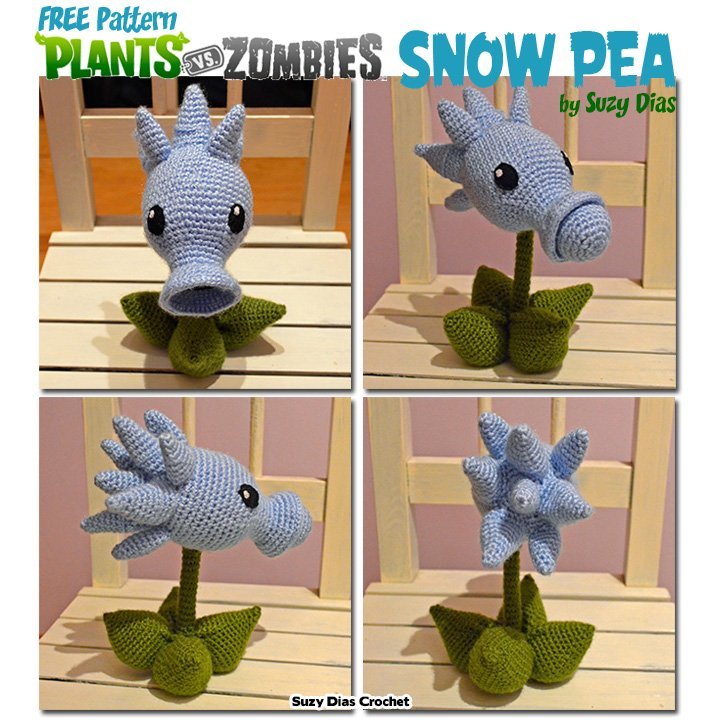
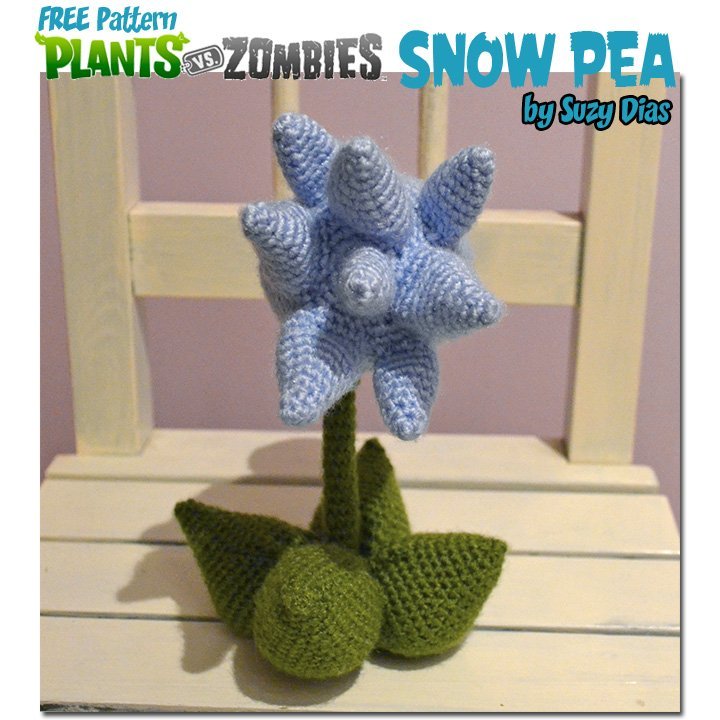
https://www.ravelry.com/patterns/library/pvz-snow-pea-easy-peasy/people
_____________________________________
Helpful videos for beginners
– Magic Ring: https://www.youtube.com/watch?v=sLUaywX0-WE
– Sphere/Ball: https://www.youtube.com/watch?v=mJ47MLlrLzw