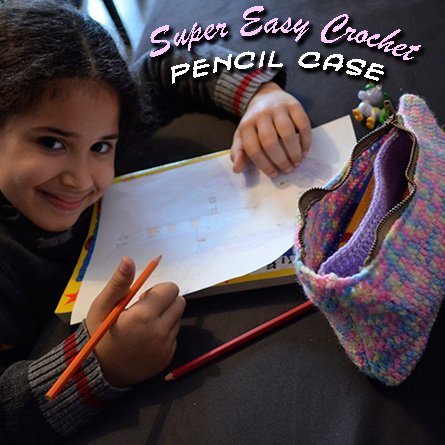
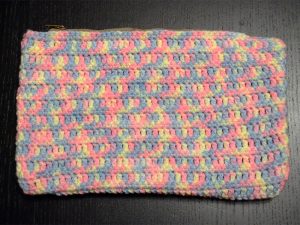
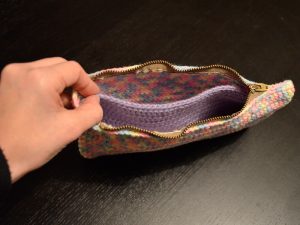
Easy, functional and cute crochet pencil case for my daughter
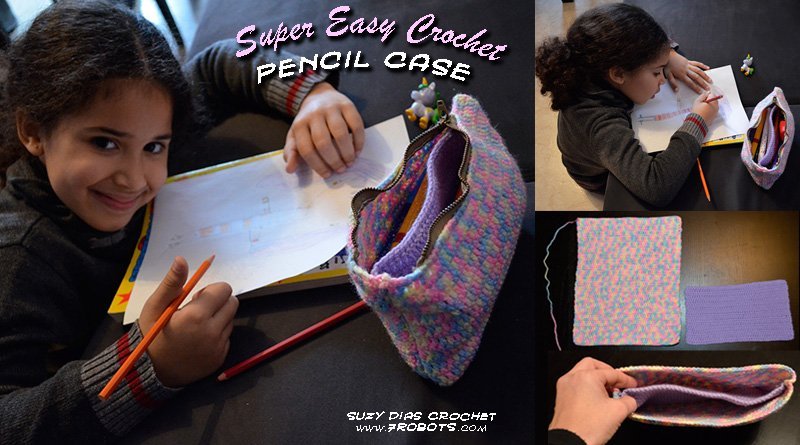
In my case, I created a pencil case for my daughter who was able to choose the color. Oh what joy! She selected a multicolor yarn which she loved. Her classmates and teacher thought it was super fab.
Now, let’s get started!
Supplies
Final size:
• Yarn: Multicolor: DK, light worsted weight yarn, 100% acrylic (specifically: Laine du NORD, color: Bleu Clair, 50 gr/150 m)
• Yarn: Purple: DK, light worsted weight yarn, 100% acrylic (specifically: Patons Astra, color: Hot Lilac, 50 gr/1.75 oz)
• Hook: 3 mm (B1)
• Zipper (I used a pair from an old pair of pants)
• Yarn Needle
• Sewing needle
• White thread
Notes:
• The width of your bag should be larger than the largest item. For example, when making a pencil case, make it wider than an unsharpened pencil with an eraser or a long ruler. It’s absolutely up to you.
• Best case scenario: Use a zipper the size that matches the width of your final bag.
• However, if like me you’re using a zipper from an old pair of pants, it was too short. To compensate, I sewed the sides closed. But remember, don’t make the opening too small or you won’t be able to fit the taller pencils or rulers.
Case or Bag
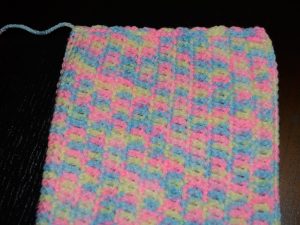
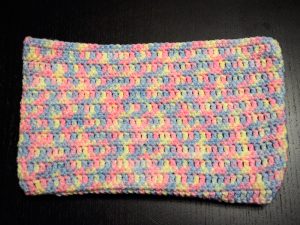
To begin, CH 50.
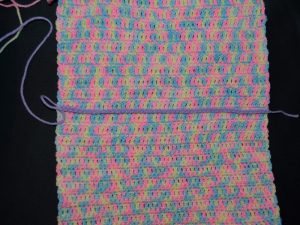
1. In 2nd CH from the hook, SC across (49).
2. CH 2. DC across (49).
3. CH 1, SC across (49).
4 – 45. Repeat Row 2 and 3.
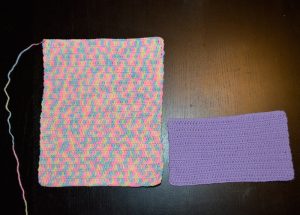
– Do not F/O yet. See the Assembly section for the next step.
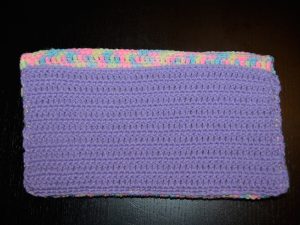
Separator
– Fold what you have created so far in half.

– The separator should be a shorter than the actual bag so it doesn’t interfere with the zipper.

Using purple yarn, repeat the same pattern for 20 rows.
**The number of rows depends on the size of your bag.**
Assembly
1. Turn the case inside out. Use a needle and matching thread (or white thread) to sew the separator to the inside of the case or bag. Remember to only sew it to three sides, leaving the top open.
2. Using your multicolor yarn (which you didn’t F/O yet), SLST along the three sides of the case, leaving the top open. Now you can F/O and hid your ends. You can turn the case the right way again to check your work.
3. Pin your zipper in place on one side. Now turn the case inside out and sew that side securely in place. Try your best to make even stitches.
4. Turn the case the right-side out. Pin the other side of the zipper to the opposite side of the bag. Unzip the zipper so it’s open and turn the bag inside out again. Sew it in place.
5. Turn the case the right way again. If your zipper is too short, you can use thread or yarn to sew the edges closed to the right and/or left of the zipper.
Voilà! You’re all done and have a cool new pencil case or makeup bag.

Improvements: Make it even better!
I just found some videos on how to crochet around a zipper so it looks polished and professional. See what you think:
• How to add a zipper to crochet
• Preparing Zipper for Crochet Projects
• Crochet on zipper, for crochet purses (in spanish)
