• Hook: 3.5 mm (E/4)
• Yarn: medium worsted (I doubled a light worsted)
• Eyes: 6 mm solid black plastic safety buttons
• Yarn Needle
Abbreviations: R – Round, MR – magic ring, ST/STS – stitch/stitches, SC – single crochet, INC – 2 single crochets (SC) in the same stitch, INVDEC – invisible decrease, EVEN – SC 1 in each ST around (the stitch count remains the same)
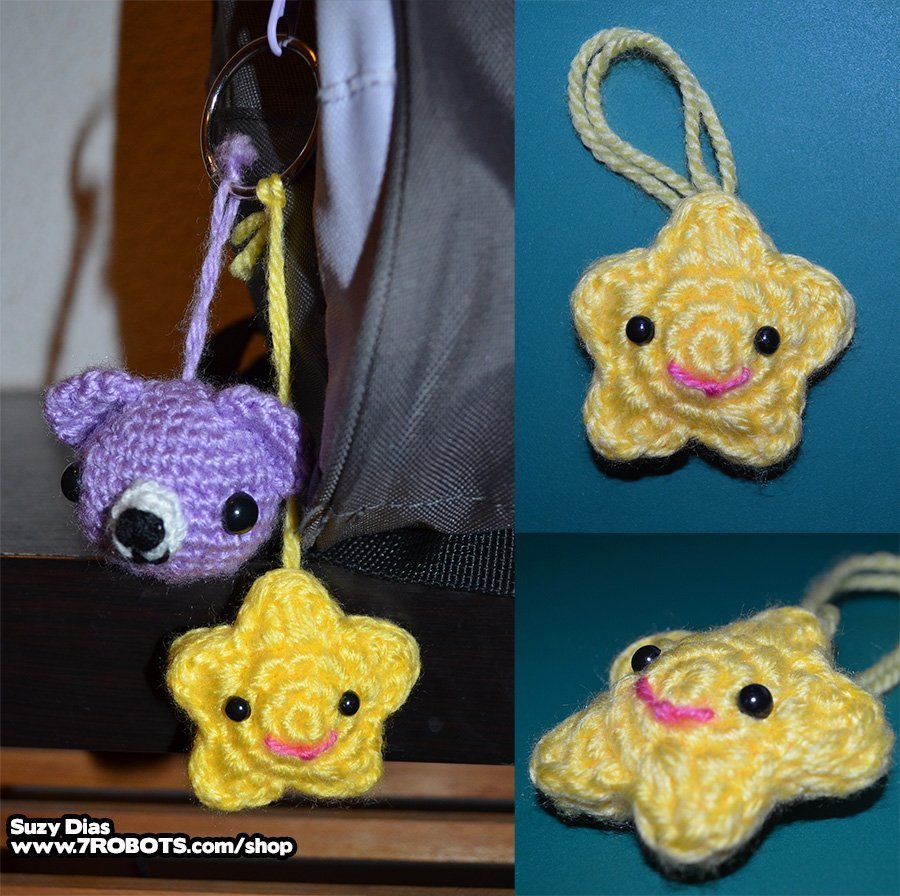
Let’s begin by creating a 5 pointed star. We’ll create 2 sides and then sew them together with stuffing in between.
STAR (make 2)
R1: MR, SC 5 (5)
R2: INC in each ST around (10)
R3: INC, SC 1 around (15)
R4: Now let’s get started making the 5 points…
Point 1:
– 1st ST: SC, DC, TC
– 2nd ST: DC, SC
– 3rd ST: SLST
Point 2:
– 4th ST: SC, DC, TC
– 5th ST: DC, SC
– 6th ST: SLST
Point 3:
– 7th ST: SC, DC, TC
– 8th ST: DC, SC
– 9th ST: SLST
Point 4:
– 10th ST: SC, DC, TC
– 11th ST: DC, SC
– 12th ST: SLST
Point 5:
– 13th ST: SC, DC, TC
– 14th ST: DC, SC
– 15th ST: SLST
• F/O and leave a long tail.
ADDING THE FACE AND STUFFING
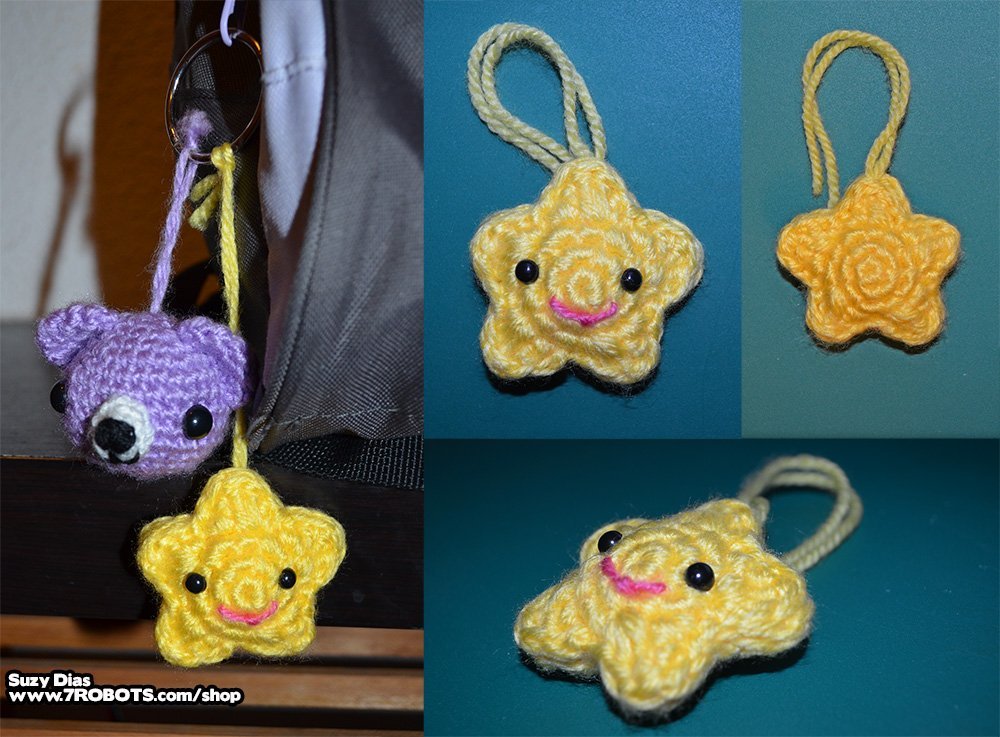
• Add 6mm safety eyes to one star, which will be the front. Sew on a cute smile now or after you stuff it. You can also use a fabric marker or even make up to add rosy cheeks.
• Sew the front and back together using the long tail (about 3/4 of the way). Add stuffing, but you don’t need too much. You can judge how puffy you want your star to be. Sew the rest to completely close the opening.
• You can now create a little amigurumi star or a key chain:
A) To make a toy, F/O and hide the yarn.
B) To make a key chain, create a loop at the top of the star and tie a knot at the end.
